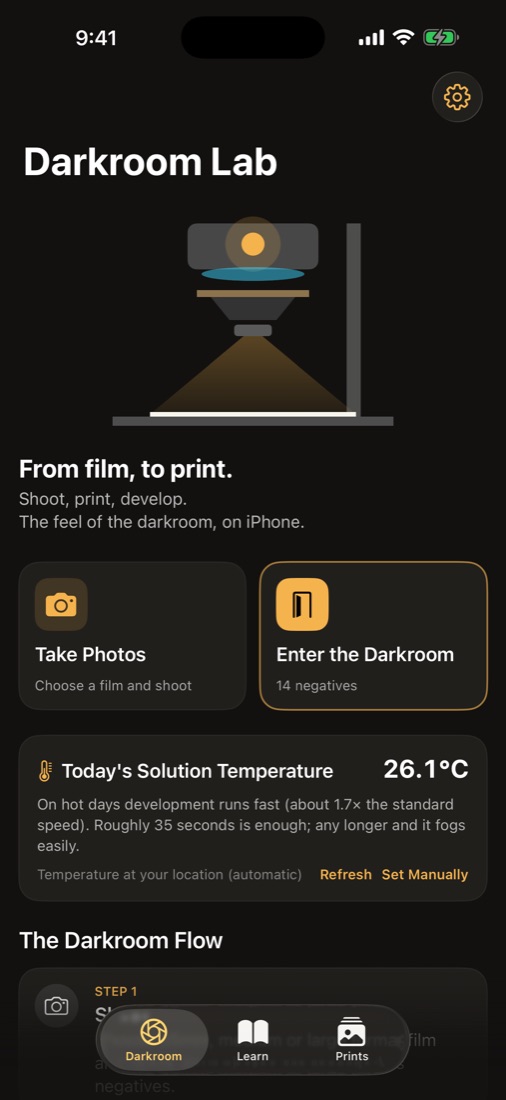
 Darkroom Lab
From film,
to print.
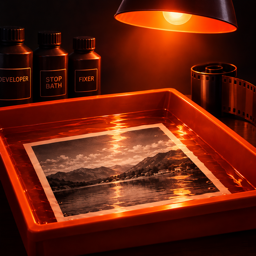
Shoot, print, develop. Under a red safelight, a scene slowly rises on blank white paper. The feel of the darkroom, on your iPhone.
Coming soonon the App StoreThe real darkroom workflow.
The photos you take become negatives, then pass through the enlarger, developer and fixer to become a single print. How long you expose, even the temperature that day — it all shows in the result.
Shoot
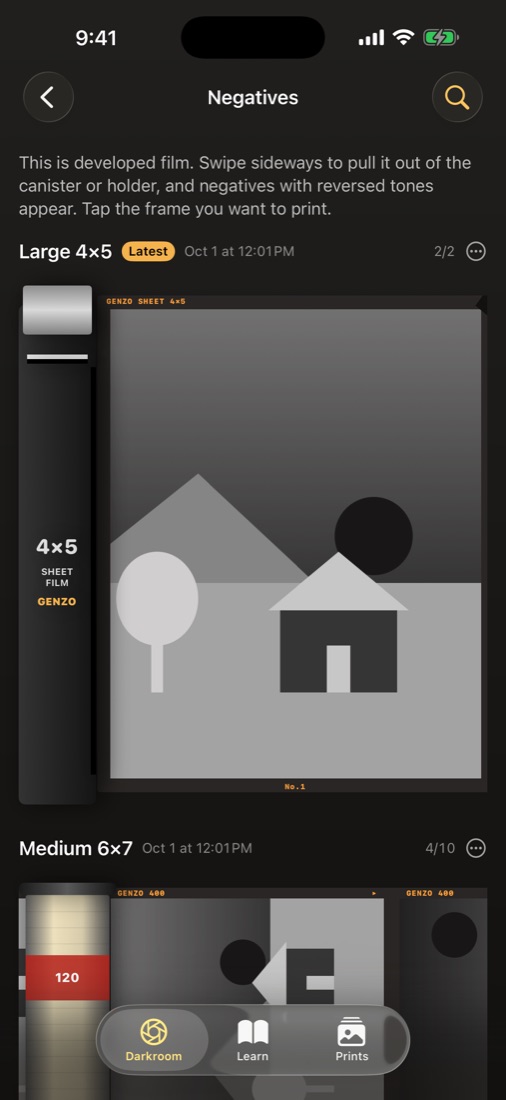
Choose 35mm, medium or large format film and shoot. Your photos are recorded as negatives.
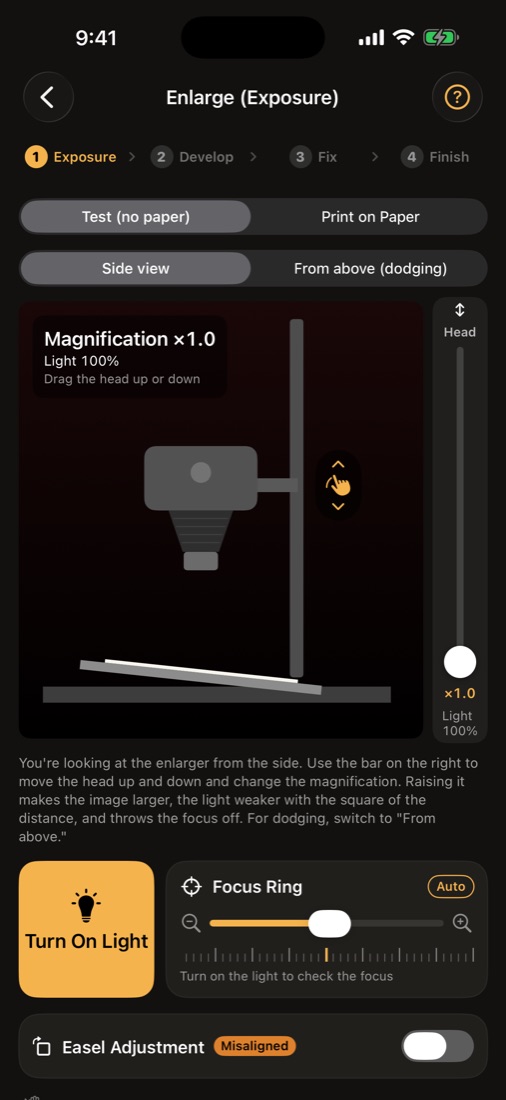
Expose
Set focus and magnification on the enlarger, then shine light to print onto paper.
Develop
Into the developer under the red safelight. Today's temperature changes how fast it develops.
Fix & Wash
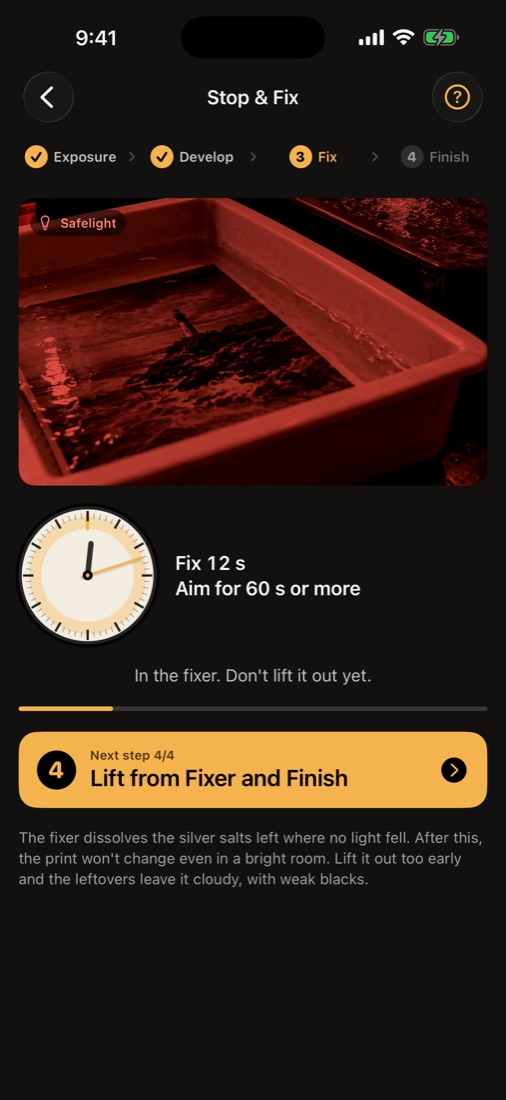
Into the fixer while watching the clock. Lift it out too early and the print turns cloudy.
Shaping light with your hands.
Dodge with your hand
Lay your iPhone face up and hold your hand over the front camera — its shadow falls on the paper. Bring a face out of the shadows by hand.
Three film formats
35mm, medium format 6×6 / 6×7 and large format 4×5. Larger film means finer grain and smoother tones.
Today's weather, in the tray
The day's air temperature becomes the developer temperature. On cold days the image appears slowly; on hot days, all at once.
A critique for every print
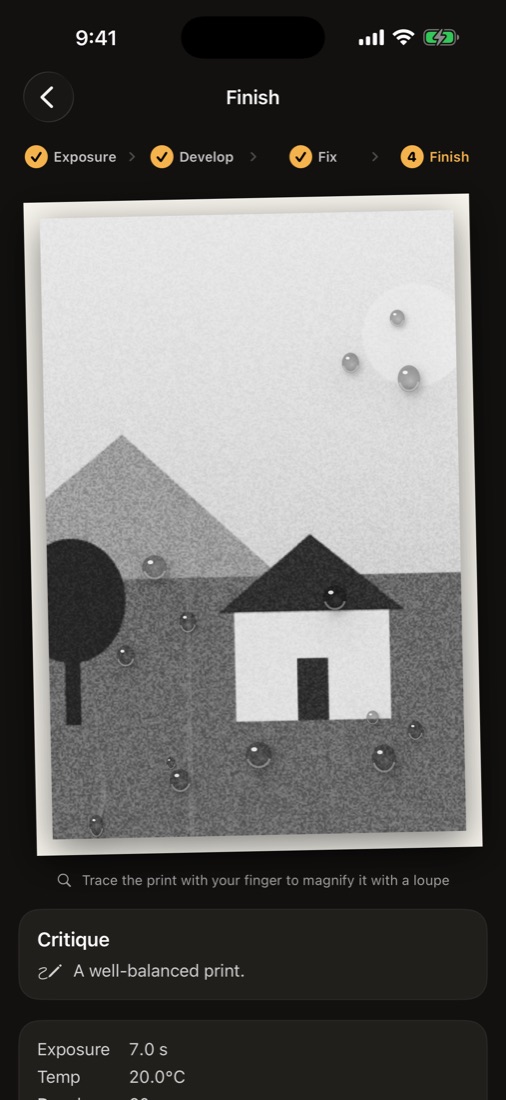
Review exposure, focus, development and fixing after each print, and make the next one better.
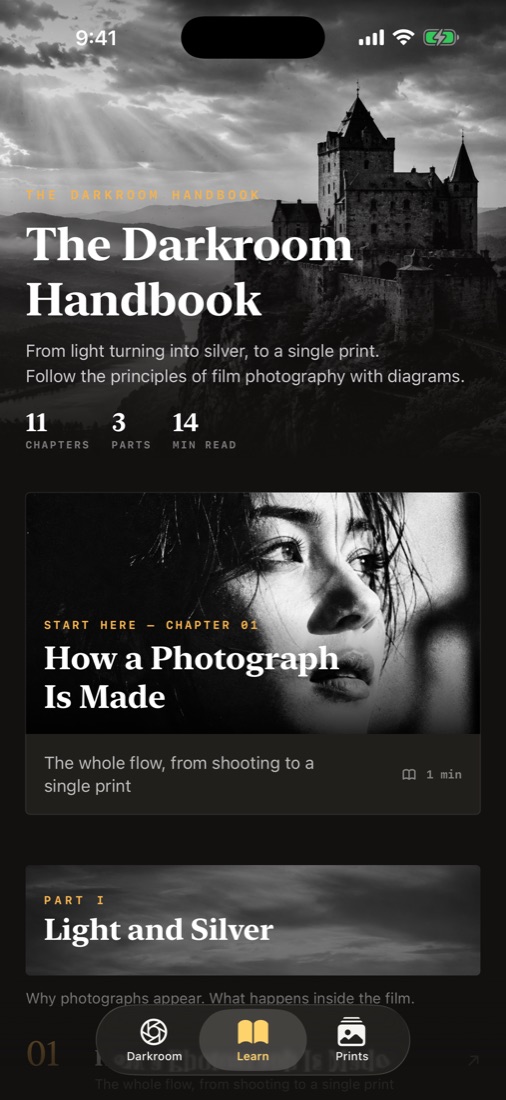
The Darkroom Handbook
Latent images, negatives and positives, how developer works — eleven illustrated chapters.
Prints on the drying line
Every print is kept. Export only your favorites to the Photos app.